Creating Your First Blog With TALL - Part Eight
This episode is the eighth in the Creating Your First Blog With TALL series. You’ll finish up with the admin area by implementing the edit page for a post. You’ll also ensure that only admins are able to access the admin dashboard by using Laravel middleware in this episode.
At the end of the episode, you should be able to:
- update database records using Eloquent.
- restrict access to certain parts of your Laravel web app using middleware.
It’s important to note that the project up to this phase is available here on GitHub. So if you’re late to the party, you can clone it and continue with us. :)
Creating the Edit Post Component
In the previous episode, you made sure admin users were able to create, delete and publish/unpublish posts. You’re going to add another important feature in this tutorial: allow the admin to edit a post after it’s been created.
This feature is particularly useful if you ever need to correct an error after you publish a post. Or, if your blog is in the technology landscape and you need to update posts in relation to changes in your technology stack. So it’s necessary that a blog has this feature.
This component is almost the same as the NewPost component we created in the last episode(they both have the same form fields). As a result, we’d be reusing the view file for the NewPost component with a few modifications.
Create the EditPost Livewire component by running the Artisan command:
php artisan make:livewire Dashboard.EditPost --inlineYou have made it an inline component because the view for the NewPost component will be reused.
Open the component class and replace its contents with this:
<?php //tall-blog/app/Http/Livewire/Dashboard/EditPost.php

namespace App\Http\Livewire\Dashboard;

use App\Models\Post;
use Livewire\Component;

class EditPost extends Component
{
    public $post;
    public $isEdit = true;

    protected $rules = [
        'post.title' => 'required|string',
        'post.category' => 'required',
        'post.body' => 'required|string|min:500',
        'post.excerpt' => 'required|min:100:max:250',
        'post.is_published' => 'boolean',
    ];

    public function mount($id)
    {
        $this->post = Post::find($id);
    }

    public function render()
    {
        return view('livewire.dashboard.new-post');
    }

    public function save()
    {
        $this->validate();
        $this->post->save();
        session()->flash("message", "Post update successful");
    }
}
What you’re basically doing here is fetching the post you want to edit from the database. You did this using the mount method. $post refers to this post and you’re making it available in the view, as happens with every supported public variable in a Livewire component. Note that all properties of the $post variable will now equally be available in the view. This makes it easy for you to take advantage of the model binding previously used in the new post view.
You use $isEdit to track the component you’re working with in the view. Remember you’re reusing the new post component’s view. So $isEdit is there to check whether you’re dealing with the NewPost component class or the EditPost component class.
The $rules property is similar to the one used in the NewPost component, albeit without a few fields. These fields are not included because they don’t need to be updated when a post is updated.
Then you come to the save method. This validates the fields you want to update against the rules you defined in the $rules property. It then saves everything and flashes a success message to the session, notifying the view that the update was successful.
You’ll now have to make three important changes to the new post view at resources/views/livewire/dashboard/new-post.blade.php.
First, you’ll have to display the success message from the session after a post is updated. Secondly, you need to display “Edit post” as title if you’re editing a post or “New post” if you’re creating a new one. Lastly, you’ll have to modify the Submit button’s text to either show “Submit” if the post is being edited or “Next” if you’re creating a new post.
Replace the New post heading with the following code snippet just below the opening div at the top of resources/views/livewire/dashboard/new-post.blade.php:
<?php //tall-blog/resources/views/livewire/dashboard/new-post-blade.php
...
<h1 class="mb-3 text-xl font-semibold text-gray-600">
    {{ isset($isEdit) ? "Edit post": "New post" }}
</h1>
@if (session()->has('message'))
    <div class="flex flex-row justify-between p-2 mb-4 text-green-900
         bg-green-600 bg-opacity-25 rounded-md">
        {{ session('message') }}
    </div>
@endif
...
This displays the success message as soon as it’s flashed to the session.
Next, update the text of the Submit button to the following:
<?php //tall-blog/resources/views/livewire/dashboard/new-post-blade.php
...
{{ __(isset($isEdit) && $isEdit ? "Submit": "Next") }}
...
This shows ”Submit” if you’re editing a post, else ”Next” is shown. This is so because for a new post, the button submits the form and then redirects to the upload featured image page.
Save all files to continue.
Congratulations! You’re now done with all things concerning components for your blog.
Your next task is to configure the route for the edit post component. Remember the route currently returns the dashboard view. Do replace the existing route with the following code:
<?php //tall-blog/routes/web.php
...
Route::get('post/edit/{id}', EditPost::class)->name('edit-post');
...
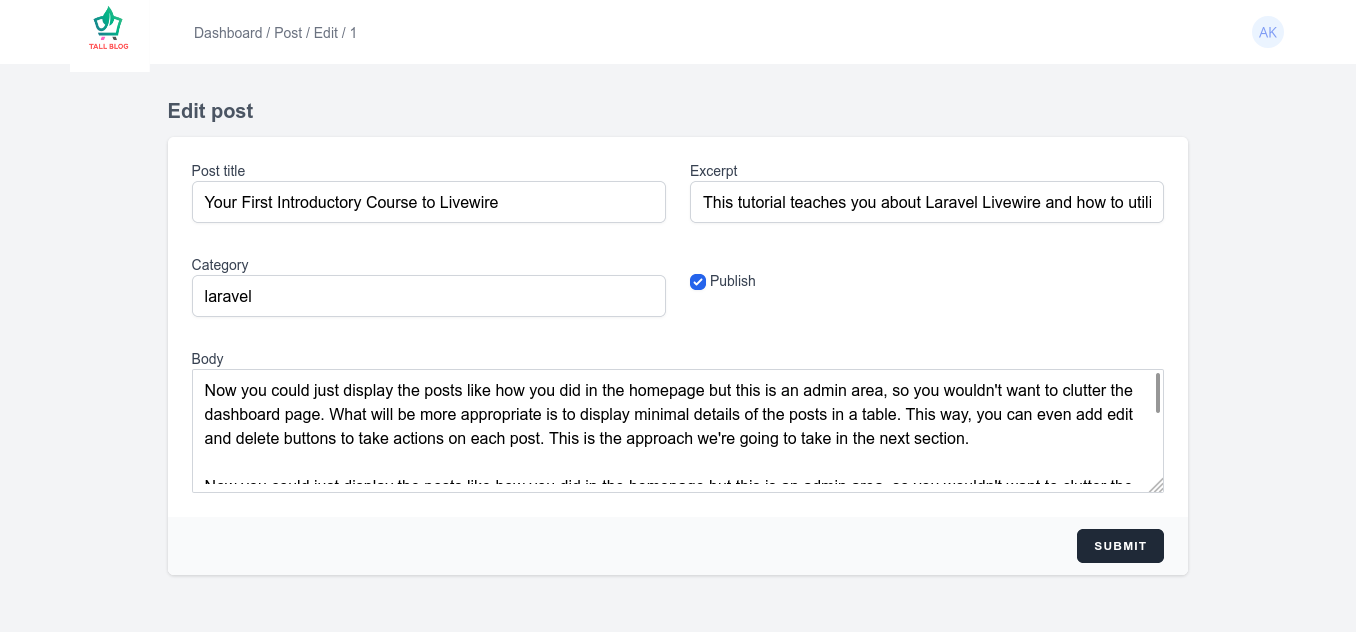
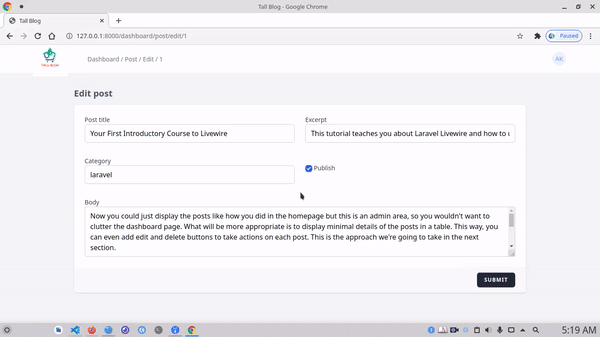
Make sure you include EditPost and all the other files at the top of the web.php route file. Now start your database server. Don’t forget to start the built-in PHP server too. Point your browser to http://127.0.0.1:8000, login and click any Edit post button to see the edit page in action:
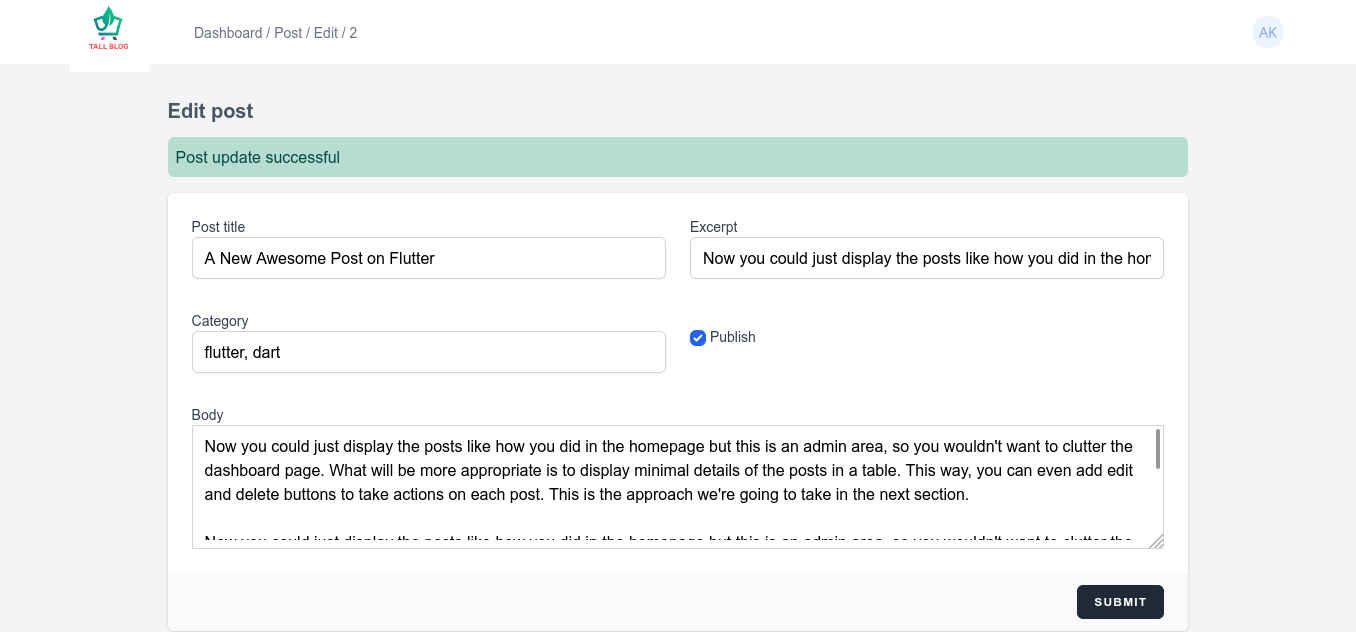
Changing any field and submitting the form shows the update success message:
Working With Middleware
As at now, every user that registers with your blog can login and perform any tasks you the owner can perform. This include creating new posts, deleting existing posts, publishing or unpublishing posts and editing existing posts. These actions are very dangerous for any user to do without your knowledge. You’d want any user registered with your blog to be prohibited from performing these tasks. Laravel allows you to do just that easily using middleware.
Laravel middleware provides a mechanism for you to scrutinize and filter incoming HTTP requests. This has many advantages. First, it allows you to control incoming requests that can compromise your website. It also allows you to restrict and/or give access to some parts of your website to specific user groups.
Laravel includes a lot of middleware in the framework. This ranges from authentication, CSRF protection, CORS to a handful of other middleware used by the framework behind the scenes.
You create a middleware with the make:middleware Artisan command like so:
php artisan make:middleware MiddlewareNameThis creates a MiddlewareName middleware in your app/Http/Middleware directory.
Creating the Admin Middleware
In this section, you’re going to create an AdminMiddleware. The admin middleware will be used to restrict access to the admin dashboard for only admin users. In our case, there’s going to be only one admin user in the system. Any other user who logs in to the system will be redirected to the blog homepage.
Create the middleware by running the Artisan command:
php artisan make:middleware AdminMiddlewareNow open the file. Make sure it is equal to this code:
<?php //tall-blog/app/Http/Middleware/AdminMiddleware.php
namespace App\Http\Middleware;

use Closure;
use Illuminate\Http\Request;

class AdminMiddleware
{
   /**
    * Handle an incoming request.
    *
    * @param \Illuminate\Http\Request $request
    * @param \Closure $next
    * @return mixed
    */
   public function handle(Request $request, Closure $next)
   {
       if ($request->user()->user_type !== 'admin') {
           return redirect()->to(route('home'));
       }
       return $next($request);
   }
}
Every Laravel middleware has the handle method which handles the incoming request. Within the method, you can perform any tasks before or after the request is handled by the application.
Your AdminMiddleware checks if the user performing the request is an administrator. If not so, they’re redirected to the homepage. Otherwise, the request is passed on to the application to be handled using the $next closure.
Registering the AdminMiddleware
For the admin middleware to work, you have to register it. There are two ways to doing this. First, you register global middleware (middleware that runs for all requests in the application) by adding it to the $middleware list property in your app’s app/Http/Kernel.php file. For middleware that should only run during some specific requests or on some routes, you register it by adding it to the $routeMiddleware list property.
Since the admin middleware is run only on requests to the admin dashboard, you’ll use the second approach. Add the AdminMiddleware class to the $routeMiddleware list property in the app/Http/Kernel.php file with the key ‘admin’:
    /**
     * The application's route middleware.
     *
     * These middleware may be assigned to groups or used individually.
     *
     * @var array
     */
    protected $routeMiddleware = [
        'admin' => \App\Http\Middleware\AdminMiddleware::class,
        'auth' => \App\Http\Middleware\Authenticate::class,
        'auth.basic' => \Illuminate\Auth\Middleware\AuthenticateWithBasicAuth::class,
        'cache.headers' => \Illuminate\Http\Middleware\SetCacheHeaders::class,
        'can' => \Illuminate\Auth\Middleware\Authorize::class,
        'guest' => \App\Http\Middleware\RedirectIfAuthenticated::class,
        'password.confirm' => \Illuminate\Auth\Middleware\RequirePassword::class,
        'signed' => \Illuminate\Routing\Middleware\ValidateSignature::class,
        'throttle' => \Illuminate\Routing\Middleware\ThrottleRequests::class,
        'verified' => \Illuminate\Auth\Middleware\EnsureEmailIsVerified::class,
    ];
Once this is done, your next task is to assign the middleware to the dashboard route group. Open the routes/web.php file and add it to the existing auth:sanctum middleware:
'middleware' => ['auth:sanctum', 'admin']Make sure your routes/web.php route file looks exactly like this now:
<?php

use App\Http\Livewire\CategoryPosts;
use App\Http\Livewire\Dashboard\FeaturedImageUpload;
use App\Http\Livewire\Dashboard\NewPost;
use App\Http\Livewire\Detail;
use App\Http\Livewire\Dashboard\EditPost;
use App\Http\Livewire\ShowPosts;
use Illuminate\Support\Facades\Route;

/*
|--------------------------------------------------------------------------
| Web Routes
|--------------------------------------------------------------------------
|
| Here is where you can register web routes for your application. These
| routes are loaded by the RouteServiceProvider within a group which
| contains the "web" middleware group. Now create something great!
|
*/

Route::get('/', ShowPosts::class)->name('home');

Route::get('categories/{category}', CategoryPosts::class)->name('category');

Route::group(['prefix' => 'dashboard',
   'middleware' => ['auth:sanctum', 'admin']], function () {
    Route::get('/', function () {
        return view('dashboard');
    })->name('dashboard');

    Route::get('post/add', NewPost::class)->name('new-post');

    Route::get('post/upload/{id}', FeaturedImageUpload::class)->name('upload-featured-image');

    Route::get('post/edit/{id}', EditPost::class)->name('edit-post');
});

Route::get('{slug}', Detail::class)->name('post-detail');
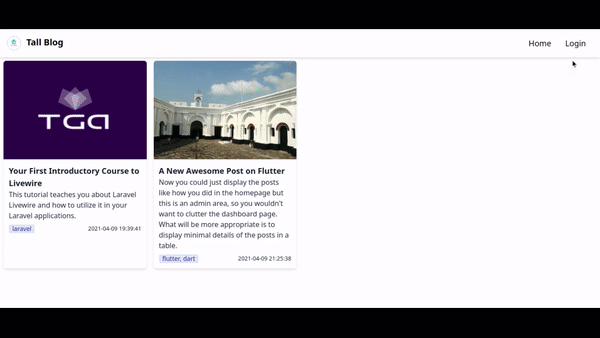
Save all files. Now refresh your browser and you should be redirected to the homepage:
Updating the Users Table
Though in the previous section you were logged in, you were still redirected to the homepage. This is going to be the fate of any new user who registers for your blog at the moment. This includes you because the website doesn’t yet recognize you as an admin.
The AdminMiddleware only allows users whose user_type is ‘admin’. Currently, however, this column isn’t in the users table. Therefore, you’re redirected to the homepage since the constraint isn’t met.
To add the user_type column to the users table and make your self an admin, create an add_user_type_column migration using the Artisan command:
php artisan make:migration add_user_type_column --table=usersOpen the migration file and make sure it contains this code:
<?php

use Illuminate\Database\Migrations\Migration;
use Illuminate\Database\Schema\Blueprint;
use Illuminate\Support\Facades\Schema;

class AddUserTypeColumn extends Migration
{
    /**
     * Run the migrations.
     *
     * @return void
     */
    public function up()
    {
        Schema::table('users', function (Blueprint $table) {
            $table->enum('user_type', ['admin', 'normal'])->default('normal');
        });
    }

    /**
     * Reverse the migrations.
     *
     * @return void
     */
    public function down()
    {
        Schema::table('users', function (Blueprint $table) {
            $table->dropColumn('user_type');
        });
    }
}
This adds the user_type column to the users table and makes ‘normal’ as the default user type. This means anyone registering for the blog will be a normal person. Also, notice how the column is made an enum. This ensures only the two values are allowed.
Now run the migration to migrate the changes:
php artisan migrateInspect your database and you should be able to see the column added. You must then change the user type for the row containing your account details to ‘admin’ instead of the default ‘normal’ type.
You should save all files and click the Login menu link to login. Because you’re already logged in, you’ll be sent directly to the dashboard:
Congratulations once again! You have successfully finished developing your blog with the TALL stack. I believe you’ve learnt a lot in the process. You should clap for yourself for coming this far!
This completes today’s episode of this series. The next episode will be about optimizing your Laravel application before deployment. I’ll teach you how to make your app faster, efficient and secure before deploying to your server.
See you for that session soon. Bye!
